Showing posts with label recipe. Show all posts

Monday, September 15, 2008

Devil's chocolate cake 666&3

Before I even had a chance to hit publish Debz did her post on Granny Mar's Death by Chocolate cake, at least they are different recipes. Arrghghh I started so I'll finish.

--0Oo--

I'VE
been meaning to write up a post about my pal's Devil's Chocolate cake, I call it that for reasons that should be obvious as the post continues.

But it is a simple, easy-to-do chocolate cake that will impress and once you bake it you will probably be spoiled for store-bought cakes in the future; which is a good thing. It is also easy to remember as 666 3. (You'll see why in the ingredients.)

Course if you have kids, they will simply love it when you make it.
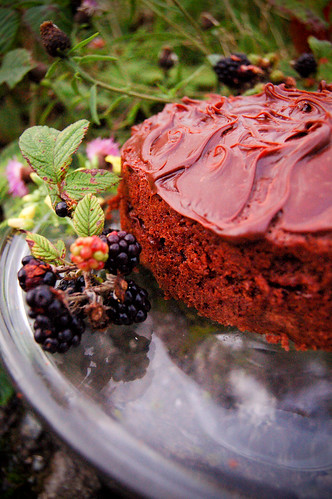
Mmmhhh chocolate cake

This recipe is so simple you can even tweet it.

Devil's Chocolate cake

This recipe gives you a lovely sponge cake, to make the chocolate version which is what we did use cocoa powder with your flour.

For the sponge:

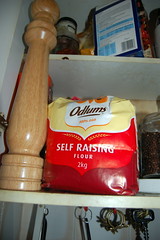
6 oz of flour ( substitute 1oz flour for 1oz of cocoa powder)
6oz of butter
6oz of caster sugar
1 & 1/2 tsp of baking powder
3 eggs

For the topping:

Double cream (I don't have measurements, I just pour :) )
Dark chocolate, the higher the cocoa content the better
A knob of butter (optional)

To begin it is better to get the frosting out of the way as it takes a long time to set properly. Place a bowl over a pot of simmering water. Pour in your double cream and break up your chocolate and allow to melt while stirring. Once melted take off the heat and set to the side to cool down.

Sieve your flour and cocoa powder, add the sugar, baking powder and butter then mix together with a blender. Beat your eggs together and whizz into the mixture. Once combined you will have a very thick batter so add approximately a cup of water slowly until you get a loose batter.
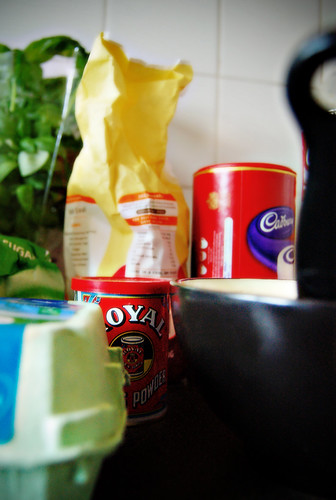
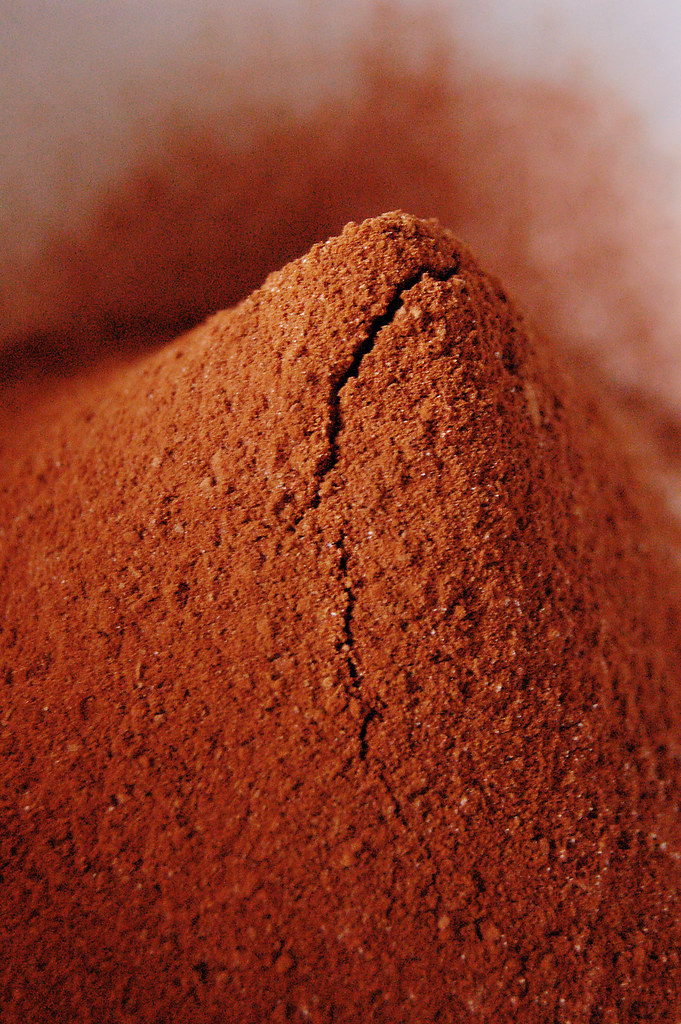
Ingredients Beginnings of chocolate cake :)
Chocolate cake

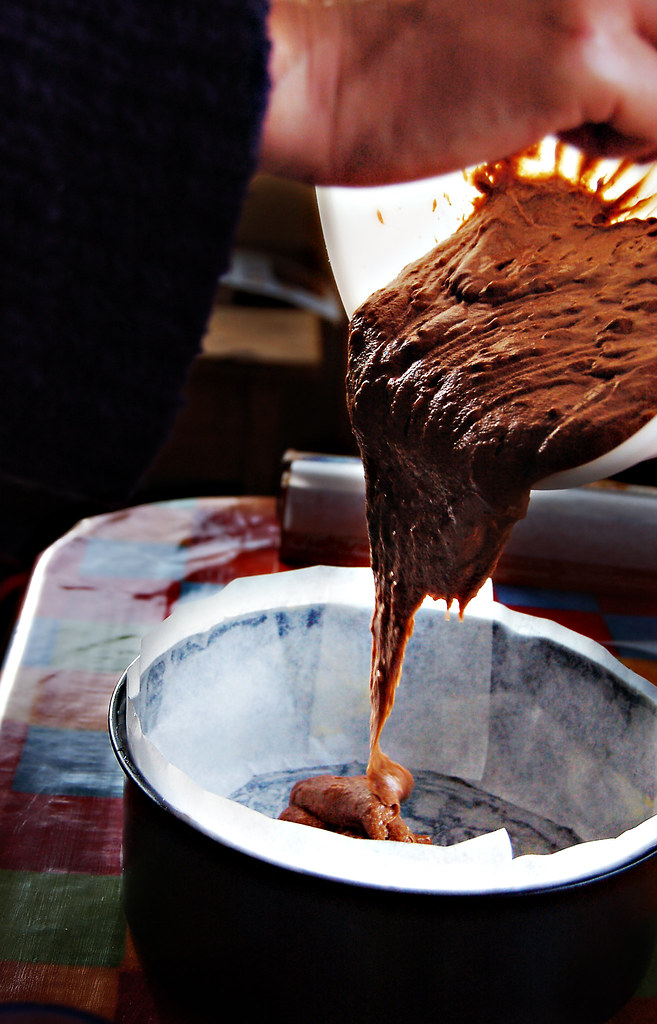
Grease your cake tin and line with greaseproof paper before lightly greasing again. Then pour in your cake mixture, banging it onto your workspace to release any air bubbles and to help level it out.

Bake at 190 degrees for 45 mins, do not be tempted to look inside or your cake will fall. Once the time is up, test that it is cooked by inserting a toothpick. If clean it is cooked, in fairness I never do this, I just take it out and so far so good. Take it out of the cake tin, remove the greaseproof paper and allow to cool on a wire tray. I made two of these cakes recently and one mistake I made was attempting to cut the cake for icing before it was ready. Once you leave to cool for a sufficient time, ie, so that it is actually cool, it will make cutting it easier and it won't break like mine did. The second cake I made cut perfectly.

Now for the frosting, hopefully by this stage it has cooled sufficiently so that you can form some peaks in it. Cut across your cake making a top and bottom layer, and smear some of the frosting along the bottom, before sandwiching the top layer onto the bottom.

Then smear your frosting all over the top of the cake. Once you have it covered then you can make little swirls and because the chocolate frosting has nearly set, they will stay put. This gorgeous, hard to feck up (though it is possible as I've said) cake will last for a couple of days in an air-tight container. The reality is the cake doesn't last that long as it is too yummy and gets eaten.
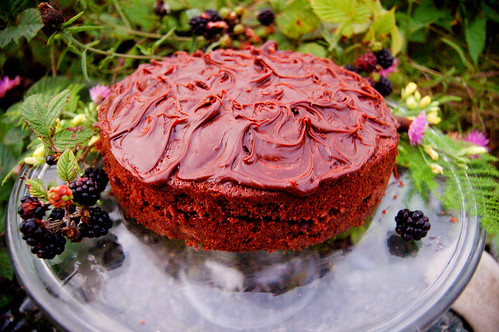
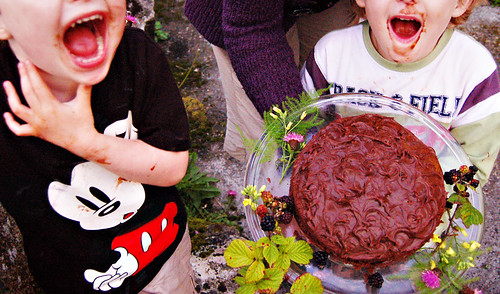
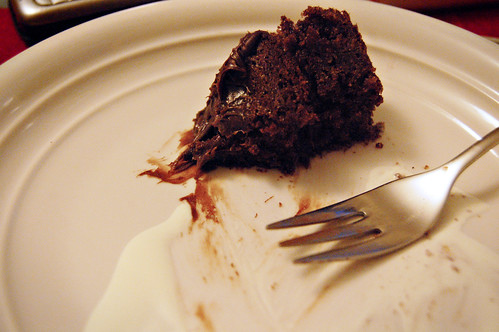
Mmmhh chocolate cake

DSC_0100

DSC_0106 DSC_0105

Wednesday, November 29, 2006

The contents of my freezer

TO SAY it has been busy over the last week would be a massive understatement. The weekend before last was spent getting the flat ready for not only Nanny but also a glut of visitors who were coming the weekend before last. Well not exactly a glut but more than enough to spur house-keeping action on a wide range of all sorts of things in the flat.

But that is a post for another day, last weekend alone will be blogged but I am still so tired and so worn out by all the shenanigans that I haven’t been able to start. Thinking about it alone leaves me wanting to get out the foot spa.

As per usual I am digressing, what I was posting about was the fact that at one point this evening my Mum/Nanny began to defrost the literal icebox that is my freezer.

It turned bad about six weeks to two months ago and I haven’t had the energy, inclination, willpower anything to sort it out. I did it two months ago and it started to freeze over practically straight away.

I have already decided that in the January sales I am buying a new fridge freezer, this one is too much work.

And back to what I had originally started posted about which is Nanny tackling the freezer.

Thank God for that.

Nanny’s comments were funny so I started to jot them down. This is a rendition of the list she realmed off as she hauled things out of the freezer with my explanations where necessary in brackets.

  • Potato bread
  • Sausages
  • Steak
  • More potato bread - (I’m not even a mad fan of potato bread, it is soda bread all the way which probably explains why there is so many)
  • Some kind of tomato sauce - (my own home made stuff)
  • Pepper Sauce - (in an iced over jar, I made too much)
  • Donegal Catch - (half a packet)
  • Meatballs - (my own home made ones)
  • Lamb chops
  • Mince steak
  • Half a loaf - oh its ciabatta!
  • Don’t know what that is - (in relation to something wrapped in tinfoil)
  • Croquette potatoes
  • More potato bread - (as I said I prefer soda bread)
  • Breadcrumbs
  • Burger baps
  • beef burgers
  • Something wrapped in tinfoil - (which turned out to be stuffing from when I made too much one Sunday)
  • Pancetta ham
  • Coffee
  • More mince steak
  • Sausage meat - (for homemade stuffing)
  • More burger baps

At this stage the Young Wan came in and saw me writing what Nanny was saying and was wondering what on earth I was doing.

‘Is this for the blog,’ she said.

Nanny replied: ‘I’m not doing it for the blog. I’m just trying to clean the freezer’. Nuff said and back to the contents.

  • Tuna steaks
  • Mince steak
  • Smoked salmon
  • Rosemary
  • Soup Vegetables
  • More coffee
  • More soup vegetables
  • Packet of puff pastry
  • What’s this? Oh a square of puff pastry
  • Tortillas
  • Don’t know what this is, I think it’s some kind of chicken - (you know the kind, the chickeny sort)
  • What’s this? - (I couldn’t shed any light on this package at all)
  • More soup vegetables
  • Yet more mince steak
Considering the size of my small freezer it is mad to think I have been able to put all this into it. So we will be having some strange dinners I reckon over the next week or two in a bid to clear out the freezer ready to start again.

Technorati tags:

Tuesday, October 10, 2006

Easy peasy pie

I THOUGHT I would do another easy peasy recipe which I learned recently and thought I would share it with you. There is just one rule it has to be called Sheila's Pie after Tetra's Mum Sheila who shared her recipe with me.

It was over at Tetra's flat one night when she reheated up her Mum's much-loved mince steak pie and it was wonderful.

I have never managed pastry apart from my easy peasy pizza of course so I asked her to ask her Mum Sheila how she did it. The only problem was Sheila does it all by sight so she would have to stop and measure it all and she did.

So here it is, only my photo-step shows steak pieces pie but I will tell you how to do the mince one which is delicious AND apple-pie which I haven't yet tried.

Measure 8oz of self-raising flour, place in a mixing bowl and add 2.5oz of Echo margarine and 2oz of whitecap lard (being in Dublin I couldn't get these brands and I do not know whether or not it makes a difference to the taste I don't think so).

Sheila Pie

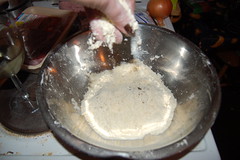
Then mix together into breadcrumbs, use your fingers to work through the marg, lard and flour, sprinkling down on top of the bowl (ehm for lightness I think).

Sheila Pie

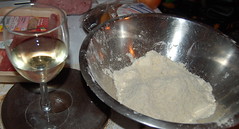
Would you believe I forgot an important step, open the wine!

Sheila Pie

Then you add half a mug of cold water and mix into a dough. If it is too sticky add a little more flour.

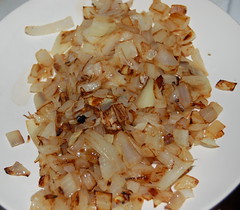
While all this is going on you could be frying up your onions.

Sheila Pie

When your onions are sauteed enough, take off the heat and set to the side.

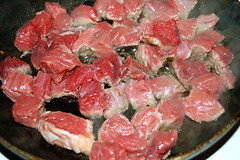
Now this is where I did steak pieces. I bought round steak, thought I may experiment with more things, I figured stewing steak would take too long. I cut the steak into pieces and fryed until all pieces were brown.

Sheila Pie

If you would like to try the minced steak version, after you fry your onions and set to the side, fry off your mince (we used just under a pound in both cases, steak and mince steak - ehm I think 454 grams-ish but you will know what is too much) in a little water. Then when browned off drain off and mix with the onions.

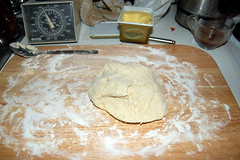
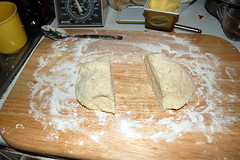
Then get your pastry and place on a well-floured surface and cut in half. (I don't know if I am wrong or right but I do little kneading, just until it is bound together.)

Sheila Pie Sheila Pie

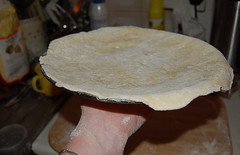
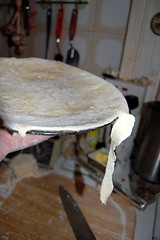
Roll your pastry out flat and large enough to cover the pyrex plate you are going to place it on, then trim around the side of the plate with a knife to get rid of the excess pastry.

Sheila Pie Sheila Pie

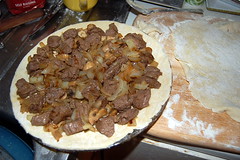
Once you have covered the plate, add some gravy granules to your ingredients, but if you do not like the thought of that, you could add some cornflour mixed with a little water to your ingredients and mix well. You may see in the pic I also added some mushrooms to my steak pie which I fried off after frying the steak. Add your pie filling in the middle leaving just a little rim so you can join up the top pastry layer properly.

Sheila Pie

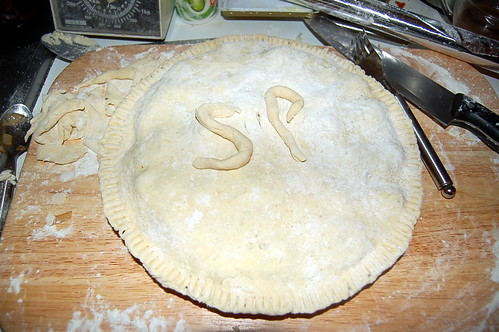
Then roll the second lump of dough (or is that pastry?) large enough to cover the top of your pie. Before you add the lid dab water around the outside of the pie. Then use a fork to bind the top and bottom layers together. To ensure the pie's success you must also make S and P from your dough scrappings to honour Sheila's great cooking.

Sheila Pie

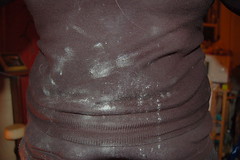
Just to keep you in suspense as to how my pie turned out, I thought I'd show you a self-portrait of the aftermath of me baking, and this is just a snapshot, I was much flourier than this shows. I'll get the hang of this sometime. Cook your pie for 25-ish minutes at 190.

Sheila Pie

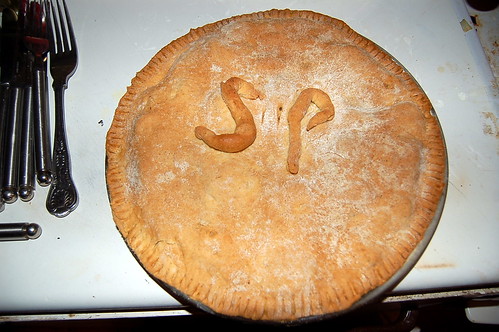
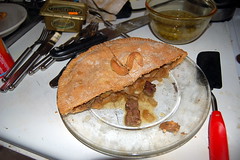
And here it is, was and ended up.

Sheila Pie

Sheila Pie Sheila Pie

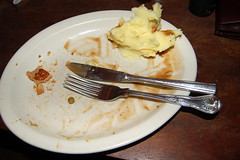
It was delicious with mashed potatoes, gravy (I make a mean gravy) and garden peas. Perfect for wet autumn evenings like tonight.

(To make a mean gravy, fry off onions until burnt and I mean burnt, you could add red wine if you like, then add water and boil down. Sieve out the burnt onions, add some stock maybe from what you have been cooking but I normally save stock from Sunday dinners. I also at this stage add water vegetables have been cooked in like carrots or something, than add some cornflower mixed with water and thicken, yum.)

I have decided that some weekend I am going to make a load of this pastry and freeze it as I haven't gotten the knack of making it very quickly yet. You can also make the pie and freeze it.

To make an apple tart make up your pastry as stated already. Take three cooking apples and slice very thinly. Heat in a small taste of water until it bubbles and then remove with apples with a slotted spoon. The add two and a half table-spoons of sugar to the mixture and make as above. Let me know how you get on.

Technorati tags: